Overview of emailable alerts in SYNCrew

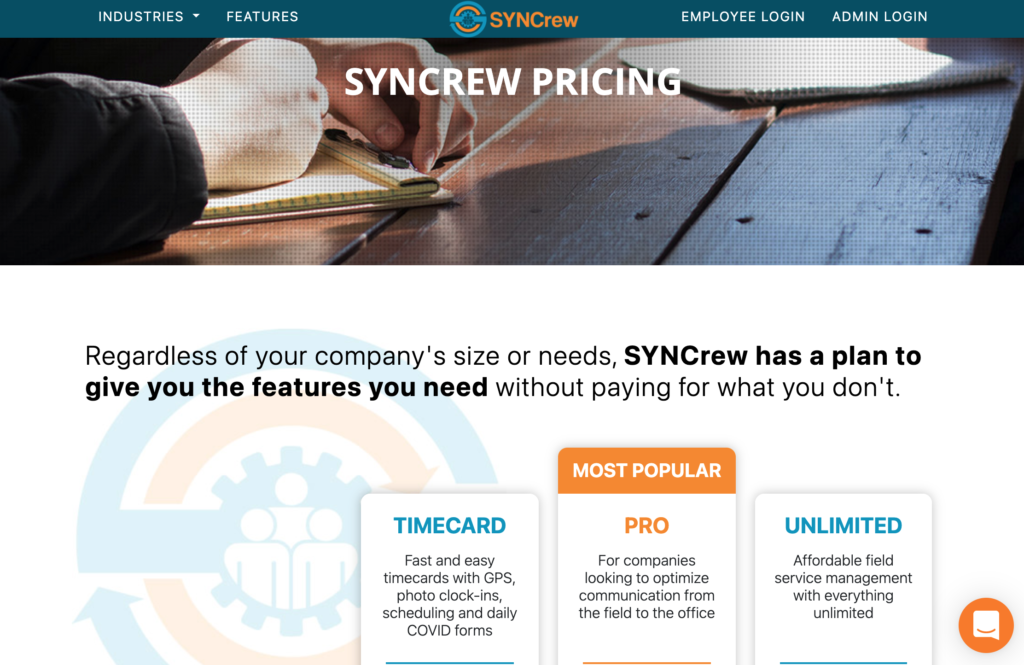
SYNCrew has many ways to automatically email information outside the system. These are summarized here. If you do not see the options where they are mentioned, it is likely that your current plan does not include them. Please contact us at support@syncrew.com for any help.

Event Alerts with Photos: SYNCrew can automatically send you an email when certain actions are taken. These are easy to set up and powerful alerts to help managers keep track of certain real-time actions without needing to look in the portal since alerts can be filtered by project, worker, skill, type of event (clock in, clock out, flagged photo, etc). These are set up in Settings –> Alert Settings –> Email Alerts.

Report Alerts: You can have a work block report or budget report emailed overnight. These can be sent daily or weekly on a specific day. These are set up in Settings –> Alert Settings –> Report Alerts.

Lunch and Overtime email alerts: These alerts are designed to help managers enforce lunch break laws and overtime policies in realtime, without needing to log into the system. The admin picks a time range where these emails will be delivered every 30 minutes in that window. Each email will show the workers currently clocked in, how long they have been working today, whether they have taken lunch, and their contact information. Managers can quickly review the email and call/text any worker who is about to enter a meal break violation or unauthorized overtime. These are set up in Settings –> Alert Settings –> Lunch and OT Alerts.

Change Request: This is a simple way for workers to request edits to their time and other things they may commonly talk to the office about. These requests generate an email with the worker’s note. Learn more by clicking HERE.

Requests for help: Workers can request help in the app. Often times the help requested is a question best answered by their manager and the email has a link to easily open that workers profile page. In the event it is a technical issue that our technical support team at SYNCrew can best address, just forward this email to support@syncrew.com. Learn more about the request for help email by clicking HERE.

Day 7+: Useful links for new admin

This page has a number of links that will be helpful as you get aquatinted with SYNCrew:


Worker Time Review: this is the best way to review hours in SYNCrew. Watch a video HERE.


Review Settings: SYNCrew has a lot of different options that can be configured. As a new person to your company’s SYNCrew, you may have ideas about changes to the setup to allow your company to do more! Click HERE to go to the setup user manual.


How do I change my plan?

SYNCrew offers a number of plans to allow our clients to get all the features they need at a great price. Why pay for stuff you don’t use?

To see your current plan, you can go to Settings –> License Information. There you can see which features you have enabled and which are not enabled.

Once you decide which features you need, you can review our current plans at the link below. To change plans or inquire about which might be the best plan for you, just email support@syncrew.com

An employee never clocked out, how can I clock them out from the admin portal?

Most of the time, workers will clock themselves out without issue. But on occasion, an admin may need to clock the worker out. The most common reasons are that the worker’s phone broke or they may no longer work for you.

If you find yourself clocking people out every day, we recommend that you talk to the employees and make sure they know how to ensure their app is syncing with the server as described here: Why events sometimes don’t sync

On to why you are here – how to clock somebody out! There are two ways to do this:

  1. Worker Profile Page: Go to the Workers profile page (click their name on the dashboard or tames page). If they are currently clocked in, you will see a “clock out worker” button at the top-right of that page. Click that to clock out the worker.
  1. Worker Time Review: In worker Time Review, you can click on the day that does not have a clock out and you’ll see a “clock out worker” button at the bottom of the activity. Click that to clock out the worker.

Custom Fields in app

SYNCrew has four available fields that can be enabled that workers can user at change task or clock out. Each field can be set as optional (worker can use them, but are not required) or mandatory (worker cannot leave site or clock out until they are completed).

Once these are enabled, they will show up all through the system including:

  • Each photo
  • Work block report
  • Activity report
  • Timesheets
  • Most places where notes are shown

These fields are each a little different and are described below. To name and enable these, go to Settings –> Configuration and then scroll down to “App Configuration Options.”

Pick List:

The “Cost Center” is a PICK LIST field that workers will pick a value from a pre-set list when they change skill on a jobsite, change jobsites, or clock out. It can be optional or mandatory. 

To enable this:

  1. Type your label under “Cost center app label”
  2. Click the box next to “enable”
  3. If desired, click the box next to “optional” if DO NOT want to require workers to fill this out
  4. Click into “add new item name” and type your first pick list value. Click “add” and then repeat until your whole list has been entered.
  5. Scroll all the way down and click “save”

Your worker’s app will automatically update shortly after you click save.

Screenshot of where you configure the “Cost Center” field

Text Fields:

The “Job Identifier” and “Custom Text Field” fields are identical. Each one enables a TEXT field that workers fill out when they change skill on a jobsite, change jobsites, or clock out. It can be optional or mandatory. 

To enable this:

  1. Type your label under “Job Identifier app label” or “Custom Text Field app label”
  2. Click the box next to “enable”
  3. If desired, click the box next to “optional” if DO NOT want to require workers to fill this out
  4. Scroll all the way down and click “save”

Your worker’s app will automatically update shortly after you click save.

Number-only Field:

The “Material Cost” field enables a NUMBER-ONLY field that workers fill out when they change skill on a jobsite, change jobsites, or clock out. It can be optional or mandatory. 

To enable this:

  1. Type your label under “Material Cost app label”
  2. Click the box next to “enable”
  3. If desired, click the box next to “optional” if DO NOT want to require workers to fill this out
  4. Scroll all the way down and click “save”

Your worker’s app will automatically update shortly after you click save.

Photo Flags

Photo flags are a way to categorize photos. When a worker takes a progress photo, they will have the option to add a flag from the list you enter here. These are used for many things but common examples are for receipts, pre-existing damage, serving notices, and things like that. Importantly, each SYNCrew client sets their own photo flags so they can be whatever YOU need!

How to enable and configure photo flags

  1. Turn on photo flags for your account
    1. Go to Settings –> Configuration in the left navigation
    2. Scroll down to “App configuration options” and look for “photo flags”
    3. click the box next to “enable”
    4. Scroll down and click “save”
  2. Set up your flags
    1. Go to Settings –> Configuration in the left navigation
    2. Scroll down to “App configuration options” and look for “photo flags”
    3. To view your current flag list: Click “click to view and search current list” and the list will pop up
    4. To add a flag: Type your flag name in the “add new flag name” field and click “add.” Repeat for each flag you wish to add. Then scroll to the bottom of the page and click “save”
    5. To remove a flag: Click “click to view and search current list” and the list will pop up. Click the flag you wish to remove adn click “remove.” Repeat for each flag you wish to remove and then scroll to the bottom of the page and click “save”

What it looks like in the app

In the app, the worker will take a progress photo as normal. When they are at the screen where they put notes in, your list of options will be available and the worker can select whichever they wish.

How to find flags on the admin dashboard

  • Dashboard: Photos with flags will have a red box around them on the dashboard. You can also click “flagged” in the row of check boxes above the photos to view ONLY flagged photos.
  • Photos: In the photos search, there is a filter for flags and you can search whichever flag you are looking for. This filter is in addition to other filters so you can search for flagged photos by a particular worker, for example.
  • Reports –> Activity: In the Activity Report, there is a filter for Photo Flags and you can search whichever flag you are looking for. This filter is in addition to other filters so you can search for flagged photos as a particular project, for example.
  • Email alerts: Email alerts can be set up to automatically send an email anytime a photo is flagged. Depending on your service plan, you can have multiple email alerts so different photo flags can be sent to different people (internal to your company or outside clients and vendors, as appropriate). To configure email alerts, go to Settings –> Alerts –> email alerts.

Day 1: Log into the app and try it out

The best way to learn about SYNCrew is to log in and try the app out. This video shows a quick overview of the app and admin portal so you can see what you’ll be doing below when you log into the app and play around.

Quick video to show basic clocking in and admin viewing

Log in and clock in!

Once you have a look at the video, we recommend spending 5 minutes to log in, take some photos, and then view your activity on the admin portal. We recommend

  1. Log into the app. When you registered your company, you created a worker account and you should have received a text message with a link to download the app. If you didn’t enter a phone number that can receive text messages, your app login will be the phone number you entered in registration and the same password as well. Be sure to give the app all the permissions it asks for!
  2. Clock in: Once you are logged in project was created for you. Click that project and take a clock in photo. The app should guide you through the steps to confirm your photo, select your skill, and then clock in. This first account is set up to require photos at clock in and out, but you can turn that off for any account you wish.
  3. Click “take photo” and take a photo.
  4. Start a meal break, then end it a few seconds later.
  5. Take another photo. This time, after you take the photo, try drawing on the image with your finger before clicking “ok”
  6. Click “go to next job” and take a departure photo.
  7. Clock back into the same project.
  8. Now click “done for the day” to clock out.
  9. Leave the app open for a moment so everuything can sync. YOu will know it is fully synced when there is no red circle at the top, as shown here:

See what you did on the admin portal

Once you do all that, open the admin portal at https://app.syncrew.com and have a look at all your photos on the dashboard. As you click around, the system will show you information about what are seeing.


Thanks for taking some time to try the app. Now is a good time to ask any questions to your account manager or our support team at support@syncrew.com. You can jump ahead to Day 2 now if you like or save that for tomorrow and go relax with a cold drink.

Day 2 or 3: Get a few workers using the app

After you spend a few minutes trying the app out yourself with the pre-loaded project, we recommend adding a few more projects. Click the button below to be walked through how to add a single project or email support@syncrew.com for help importing a larger list.

Then add a few workers. For these first workers, we recommend telling them they must use SYNCrew and that it replaces their old timesheet process. As with projects, support@syncrew.com can help you import large lists of workers.

If you have any trouble during htis, please contact your account manager or support@syncrew.com and we’ll be happy to help. If your workers have trouble with the app, the best way to help them is to have them text us directly at 415-968-1593 and we can assist them directly.

Days 4-7: Watch and review

Now that you have a few workers set up, make sure they are clocking in every day and that you like the info you are seeing! Here is a daily process that we recommend in these first few days:

  1. Look at the dashboard to be sure people are clocking in to the right projects and at the right times. If you are using the photo clock in, view photos to see that they are taking the kinds of photos you want
  2. Check Worker Time Review to see that the hours look good. To do this, click “Manage” in the left-hand navigation and then select “Worker Time Review.” The date should automatically show the current pay period so you can just click “run.” Watch a video by clicking HERE.
  3. Be in touch with your account manager as questions come up or you want to change the information that SYNCrew is capturing. SYNCrew is highly configurable so whatever you wish to do is possible. You can click the button below to see an overview of all the different settings or email your account manager or support@syncrew.com with what you want to do.

That’s it!