ONLY FULL ADMIN ARE ABLE TO ADD USERS. If you are not a full admin, please contact an HR or IT administrator for additional help.
To add a worker or admin user do the following:
Go to the Settings option in the left navigation
Select the sub-option to “Manage Users”
Click on either “add new worker” or “add new admin,” depending on which you wish to add (circled in red below)
Fill in the required forms on the add user page that comes next and click “Save.” When you click save, an email will be sent with the login information and for Worker accounts, it will also send a text message with the login info
There are different kinds of Worker accounts. When you create a new Worker account, you are asked what to select a “Worker type.” Below is a description of each type and also a how they are different. Workers may be switched from one user type to another at any point when the worker is clocked out.
Hourly Worker: Hourly Worker is the standard Worker type and is automatically selected since this is how the majority of SYNCrew Workers are set up. Hourly workers use a specific phone to clock in, clock out, take meal breaks, snap pictures, and view their hours worked. See more about Hourly Worker Type.
Non-Hourly worker: Non-hourly workers can use the mobile app primarily to collect photographs and share their current location. They are not able to see their time worked, take meal breaks or change tasks to track milage and travel time. See more about Non-Hourly Worker Type.
Manager: Manager Workers use the app to track their own time and breaks and are able to take pictures. They can also add and view time for themselves and Managed workers both from the app or by logging into work.syncrew.com See more about Manager Worker Type.
Managed Worker: Managed worker accounts are for employees who do not use the app and have their hours entered by an administrator or a Manager Worker (described above). See more about Managed Worker Type.
Below is where you select the Worker Type in when editing a Worker account:
Sometimes, an employee needs to track their own hours or take photos in the field AND has responsibilities that require admin access. In this case, please follow the instructions below:
Below is how to disable a user’s access when they leave your company’s employment (quit, fired, terminated, etc) or change roles such that they do not need their SYNCrew account. Nothing in SYNCrew is ever deleted and all data that a user created remains in place should you need it at a later date.
To Disable either a Worker or Admin account, go the Admin tab and then click on “Users” in the left panel.
Find the user you wish to disable. For larger companies, we use the browsers search feature (usually CTRL+F) and type the name.
Click the red “Disable” button at the right and confirm when asked. See below if you get an alert that the worker is still clocked in.
Note that the user is no longer visible on your teams page, you you can still see them in Reports, Photos and Maps tabs because their data is saved. If the employee returns and you need to reactivate them, follow these instructions.
Note if the worker is still clocked in: If the user you are archiving is a Worker, they must be clocked out. If they are not, you will see a pop up where you can clock the user out. Upon clicking “Clock out worker,” you will need to fill in the time of their final clock out along with any option fields your company has enabled. The system will create the clockout and deactivate the user.
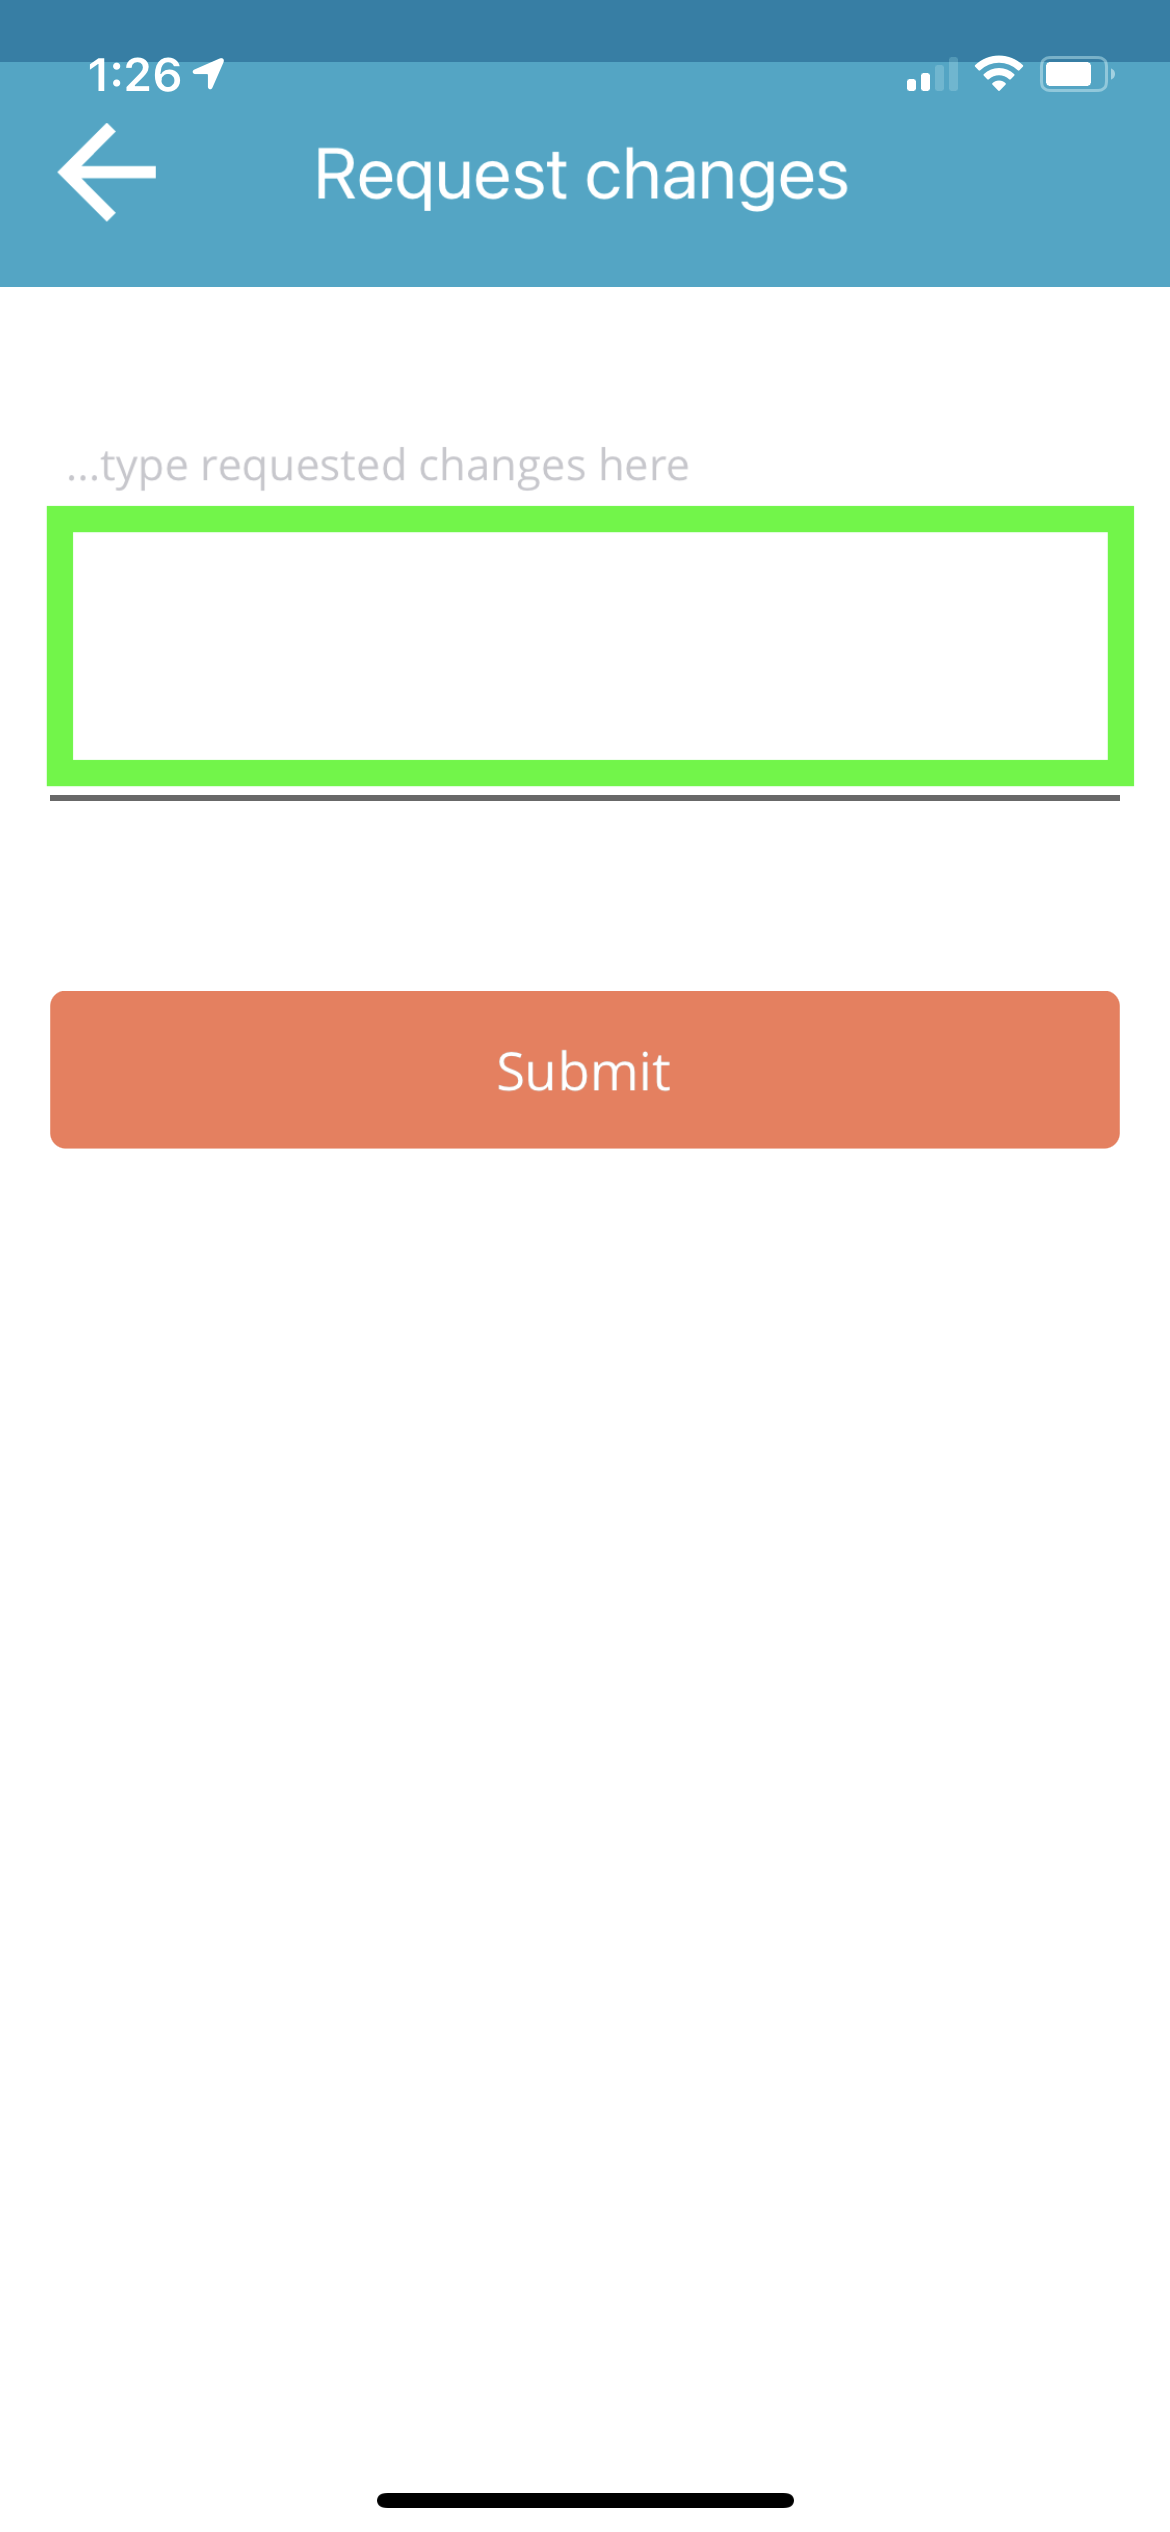
For the rare occasions when the worker makes a mistake in entering their time, there is a place in the app where they can send a note to request the changes. The request is a simple note so that it is fast and easy for the worker to describe a wide array of issues they need help correcting.
Once the worker clicks to submit their change request, a simple email gets sent to either a single company email or the manager of the team that the worker is assigned to.
Single Email: This option will send all change requests to a single email address.
Send to Manager: This option will route the change request based on who is set as the manager of the team that the worker is assigned to. In the event that a team’s manager is disabled (because they left the company or have a new role), those change requests will go to a backup email. To learn how to set up a manager for a team, click HERE.
These settings are set in Settings –> Configuration. Scroll down to the “timesheets” section and you will see the screen below. The green square is where you modify the time change request settings.
How workers create the change requests in the app
In the weekly timecard view in the app (and a few other places), workers have an opportunity to write a note about things they would like edited in their timecard. It’s a smiple text box (left image below) and when they click submit, it sends to the manager or company email as designated above.
Click here to open the page to request changes
Type your changes here and then send them
In-app view of how to request a change to your hours