SYNCrew’s form functionality can be used to create COVID-19 check-in forms to capture daily health data for your employees. Employees can access the COVID-19 screening form through the SYNCrew app and answer all the questions there. A completion email will be sent to an address of your choosing.
The instructions below walk you through creation of a form and setting it to be mandatory.
How to create a new form:
Click “New Custom Form” at the top of the page
On the pop up, enter the name of the form and, optionally, one email address (you can add more emails while editing the form later)
Click “Save”
Now follow the steps to edit forms below
Setting up the form
This refers to the options at the top of the forms setup page
Enable: This option just enables or disables the form. If there is a check box showing, the form is enabled.
Send to project email: When this option is selected, completed forms will be sent to the email(s) that are listed for the Project. You can see these emails by clicking “edit project” from the project profile page.
Email address for completed form: Whenever a form is completed, these emails will receive the form.
Name: This is the name that shows up on the form list in the app and admin portal
Project: This setting managed when the form can be seen by workers in the field. If you want the form to appear both clocked in and out, you just need to copy the form once completed and set the copy to have different project settings
Clocked in project: The form will show anytime a user is clocked into any project (as you are now)
Single project: The user will see the form when they are clocked into ONLY that selected project. They will also see that form if you select “allow user to see while clocked out” AND they search for that project.
Allow user to select: These forms will only be seen while the user is clocked out.
ALWAYS CLICK “UPDATE” AFTER EDITING THESE SETTINGS OR THEY WILL NOT BE SAVED
In this example, we have three questions we want to ask:
1. Within the last 10 days have you been diagnosed with COVID-19 or had a test confirming you have the virus?
2. Do you live in the same household with, or have you had close contact* in the past 14 days with someone who has been in isolation for COVID-19 or had a test confirming they have the virus? *“Close contact” is defined as living in the same house, being an intimate partner, being a caregiver, or being within 6 feet of an individual for longer than 10minutes who has COVID-19.
3. Have you had any one or more of these symptoms today or within the past 24 hours, which is new or not explained by a reason other than possibly having COVID-19?
Possible responses should be Yes/No for the first two questions and a list of symptoms on the third.
After we’ve setup the header info (section above), we can add the questions one by one.
To add a question, click where it says “Check Box” in the bottom of the form and select “List” as the type for the first question. As the possible answers are Yes/No, we select “List” and then add the Yes/ No responses.
Click on submit and you will get a pop-up. In this pop-up, type (or copy/paste) the first question where it says “label” . This will be what the employees will see as the question in the app.
Click Save, then click on “edit” to the right, to add the possible responses. The pop-up opens again, this time allowing you to add the responses. Type the first response in the field that says “Add” and then click on the Add button. Do the same for every possible response, in this case it’s only Yes and No.
Click Save, then move on to the next question. Again, click below where it says “Check box” and repeat the same process.
The third question is slightly different, as the employee could have one or more symptoms at once. Hence, we pick “Multiple Pick List”, allowing the employee to select more than one response.
The rest of the process is the same, except we will add more possible responses than just Yes or No. Another important difference is to select “Optional” on top, that way a response is not required when the employee has no symptoms. Otherwise, the form will force the user to choose at least one.
When you added all the responses, click save.
To finish, click “update” to finalize the form.
Set the Form as required
Once your form is created, go back to the main forms setup screen and select your COVID form in the dropdown labeled, “Required at start of day.” Then click save to the right.
Now your workers will be required to complete this form before starting work with any clock in that follows a clock out. If they change task throughout the day as they work, they will only complete this form once. If they clock out and then come back to work for whatever reason, they would complete the form again.
Your workers will need to be sure they have recently updated apps so if they are able to clock in without completing the form, that is most likely the issue. Have them update the app and then leave it open for a few minutes with good wifi or cell signal and it should update properly to require the form.
How to review forms
The admins can now access the form via the Reports -> Custom Form reports Page.
Once on the page, select the Covid form (and any other desired filters for time, employee etc). Below you can also filter by responses (For example you can search all Yes responses to a particular question)
On the list that returns, you can click on any particular form where it says “View Details” to see the responses. You can also generate PDFs and manually email the forms from here.
COVID-19 on the phone app
This section shows how a worker can access the form manually. This is done in cases where not all workers need to complete the form or when the mandatory form is already used for another purpose.
Click on the menu button (three horizontal lines on the top left) and then on “Forms”
Then click on “Start New Form” and select the “Covid-19 screening” form
Respond to the questions just like in any other electronic form
Finally click “Send Form” And the form will be sent to the system
The Audit Report allows administrators to track what edits were made to employee’s times by which admins. It shows the affected employee, what was changed (time added or edited), the previous and new values, who made the edit and when.
To run this report, click on “Reports” in the main menu and then on “Audit Reports” on the submenu that opens.
This will open the Audit Report page. Here you can filter by Teams, Workers, Skills and Projects, as usual in most reports, but you can also filter by who is the admin who made the edit(s). Please note that time filter applies to the date and time of the work, not the date and time when the edit was made.
The resulting report can be viewed on the screen but also exported to CSV, where you can open it using Excel by pressing on “Export to CSV”.
First off, we will certainly be sorry to see you go! Before you go through the effort to cancel, here are two things that have helped many clients get SYNCrew working above expectation again:
1) Ask support: Email support@syncrew.com with what you want SYNCrew to do. Most requests for new features or questions about whether SYNCrew can do something they saw in another app are already available and it’s just a matter of changing the configuration.
2)Check your plan: To accommodate the wide variety of clients on SYNCrew, we have different plans to ensure each client gets all the features they need, without paying for those that they do not need. Have a look at our current plans:
When an employee’s current status is clocked in, an admin user can clock him/her out manually. To do this, click on the employee’s name (either in the dashboard or in the teams page) to open that employee’s profile page.
Then, click “Clock Out Worker” as shown here:
Finally, in the form that opens, just select the date and time the employee should have clocked out, input any other relevant information as required (like work order number or description of work) and click submit. The clock out will be created right away.
Daily site reports are a quick an easy way to keep your customers updated about your employees’ activities at their sites. If your employees are using SYNCrew correctly taking good, relevant photos and writing down good notes about their site visits, you can easily use this feature to share relevant information about the visits with the site’s owner. The feature gives you a lot of options to tailor this report and also allows you to edit the language in case there are grammatical errors or incorrect information.
To start, you need to enter the client’s email address(es) on each location, that way the report can be emailed to the client. You can also enter generic or specific site info that you want to be shown in the report (optional)
To run the actual report, select the “Reports” menu item and then the “Daily Site Reports”.
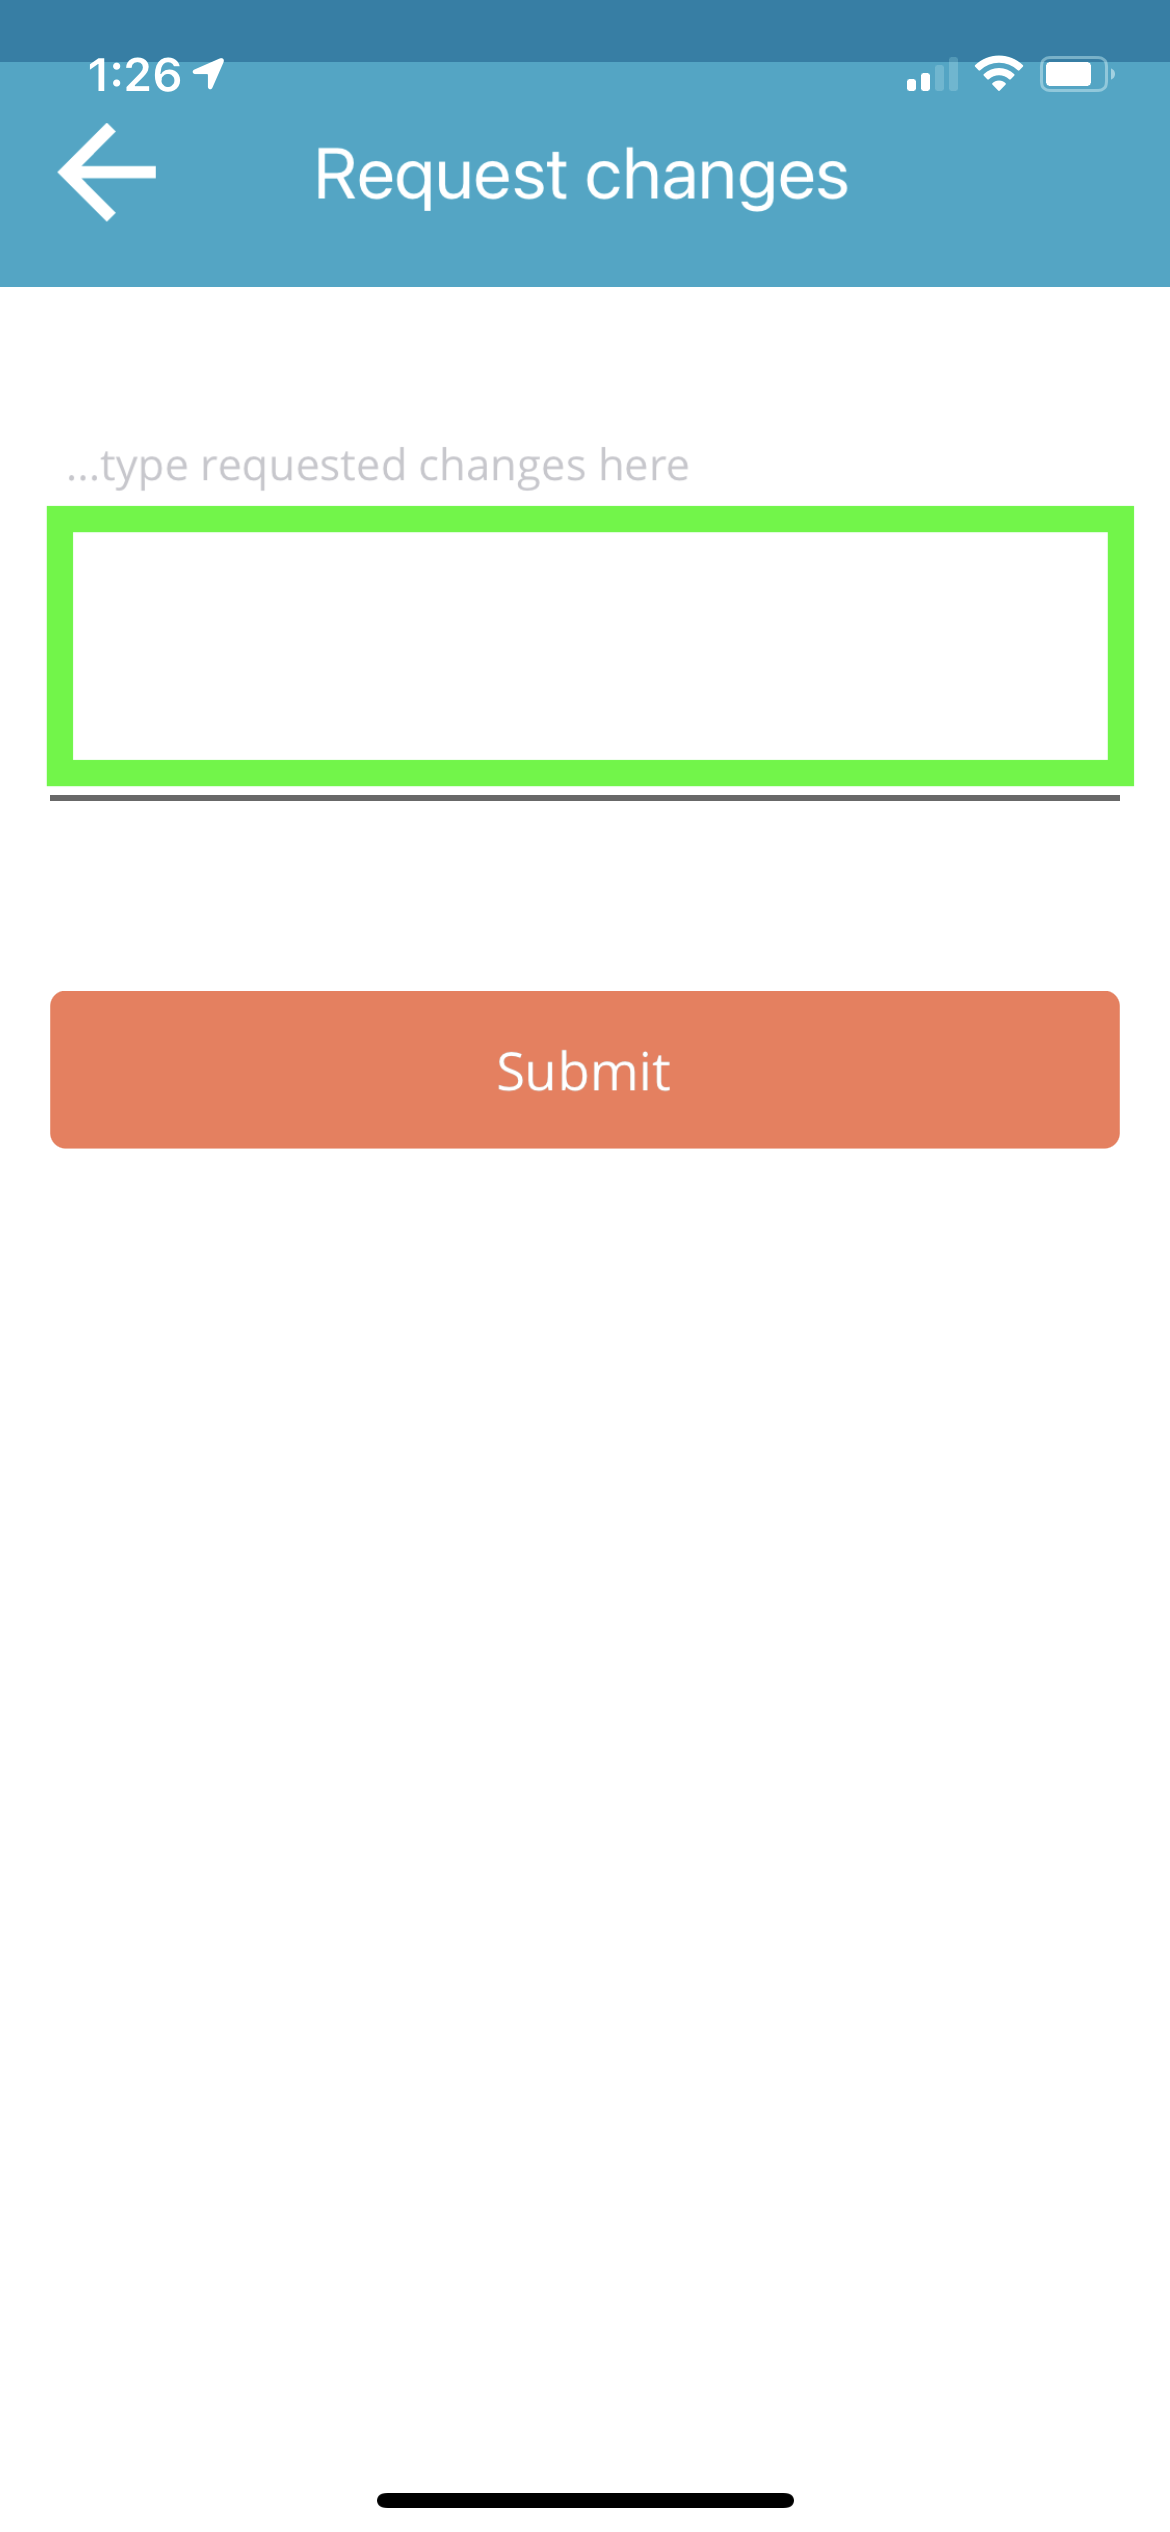
For the rare occasions when the worker makes a mistake in entering their time, there is a place in the app where they can send a note to request the changes. The request is a simple note so that it is fast and easy for the worker to describe a wide array of issues they need help correcting.
Once the worker clicks to submit their change request, a simple email gets sent to either a single company email or the manager of the team that the worker is assigned to.
Single Email: This option will send all change requests to a single email address.
Send to Manager: This option will route the change request based on who is set as the manager of the team that the worker is assigned to. In the event that a team’s manager is disabled (because they left the company or have a new role), those change requests will go to a backup email. To learn how to set up a manager for a team, click HERE.
These settings are set in Settings –> Configuration. Scroll down to the “timesheets” section and you will see the screen below. The green square is where you modify the time change request settings.
How workers create the change requests in the app
In the weekly timecard view in the app (and a few other places), workers have an opportunity to write a note about things they would like edited in their timecard. It’s a smiple text box (left image below) and when they click submit, it sends to the manager or company email as designated above.
Click here to open the page to request changes
Type your changes here and then send them
In-app view of how to request a change to your hours